
If you need top performance, you need to look at Guts Seat Covers. But what does performance have to do with a seat cover? Well, it turns out, a lot.
Here’s why we at GritShift love these seat covers. We’re competition-winning riders, commuters, and weekend hoonigans, and yet the same seat covers are on all our bikes.
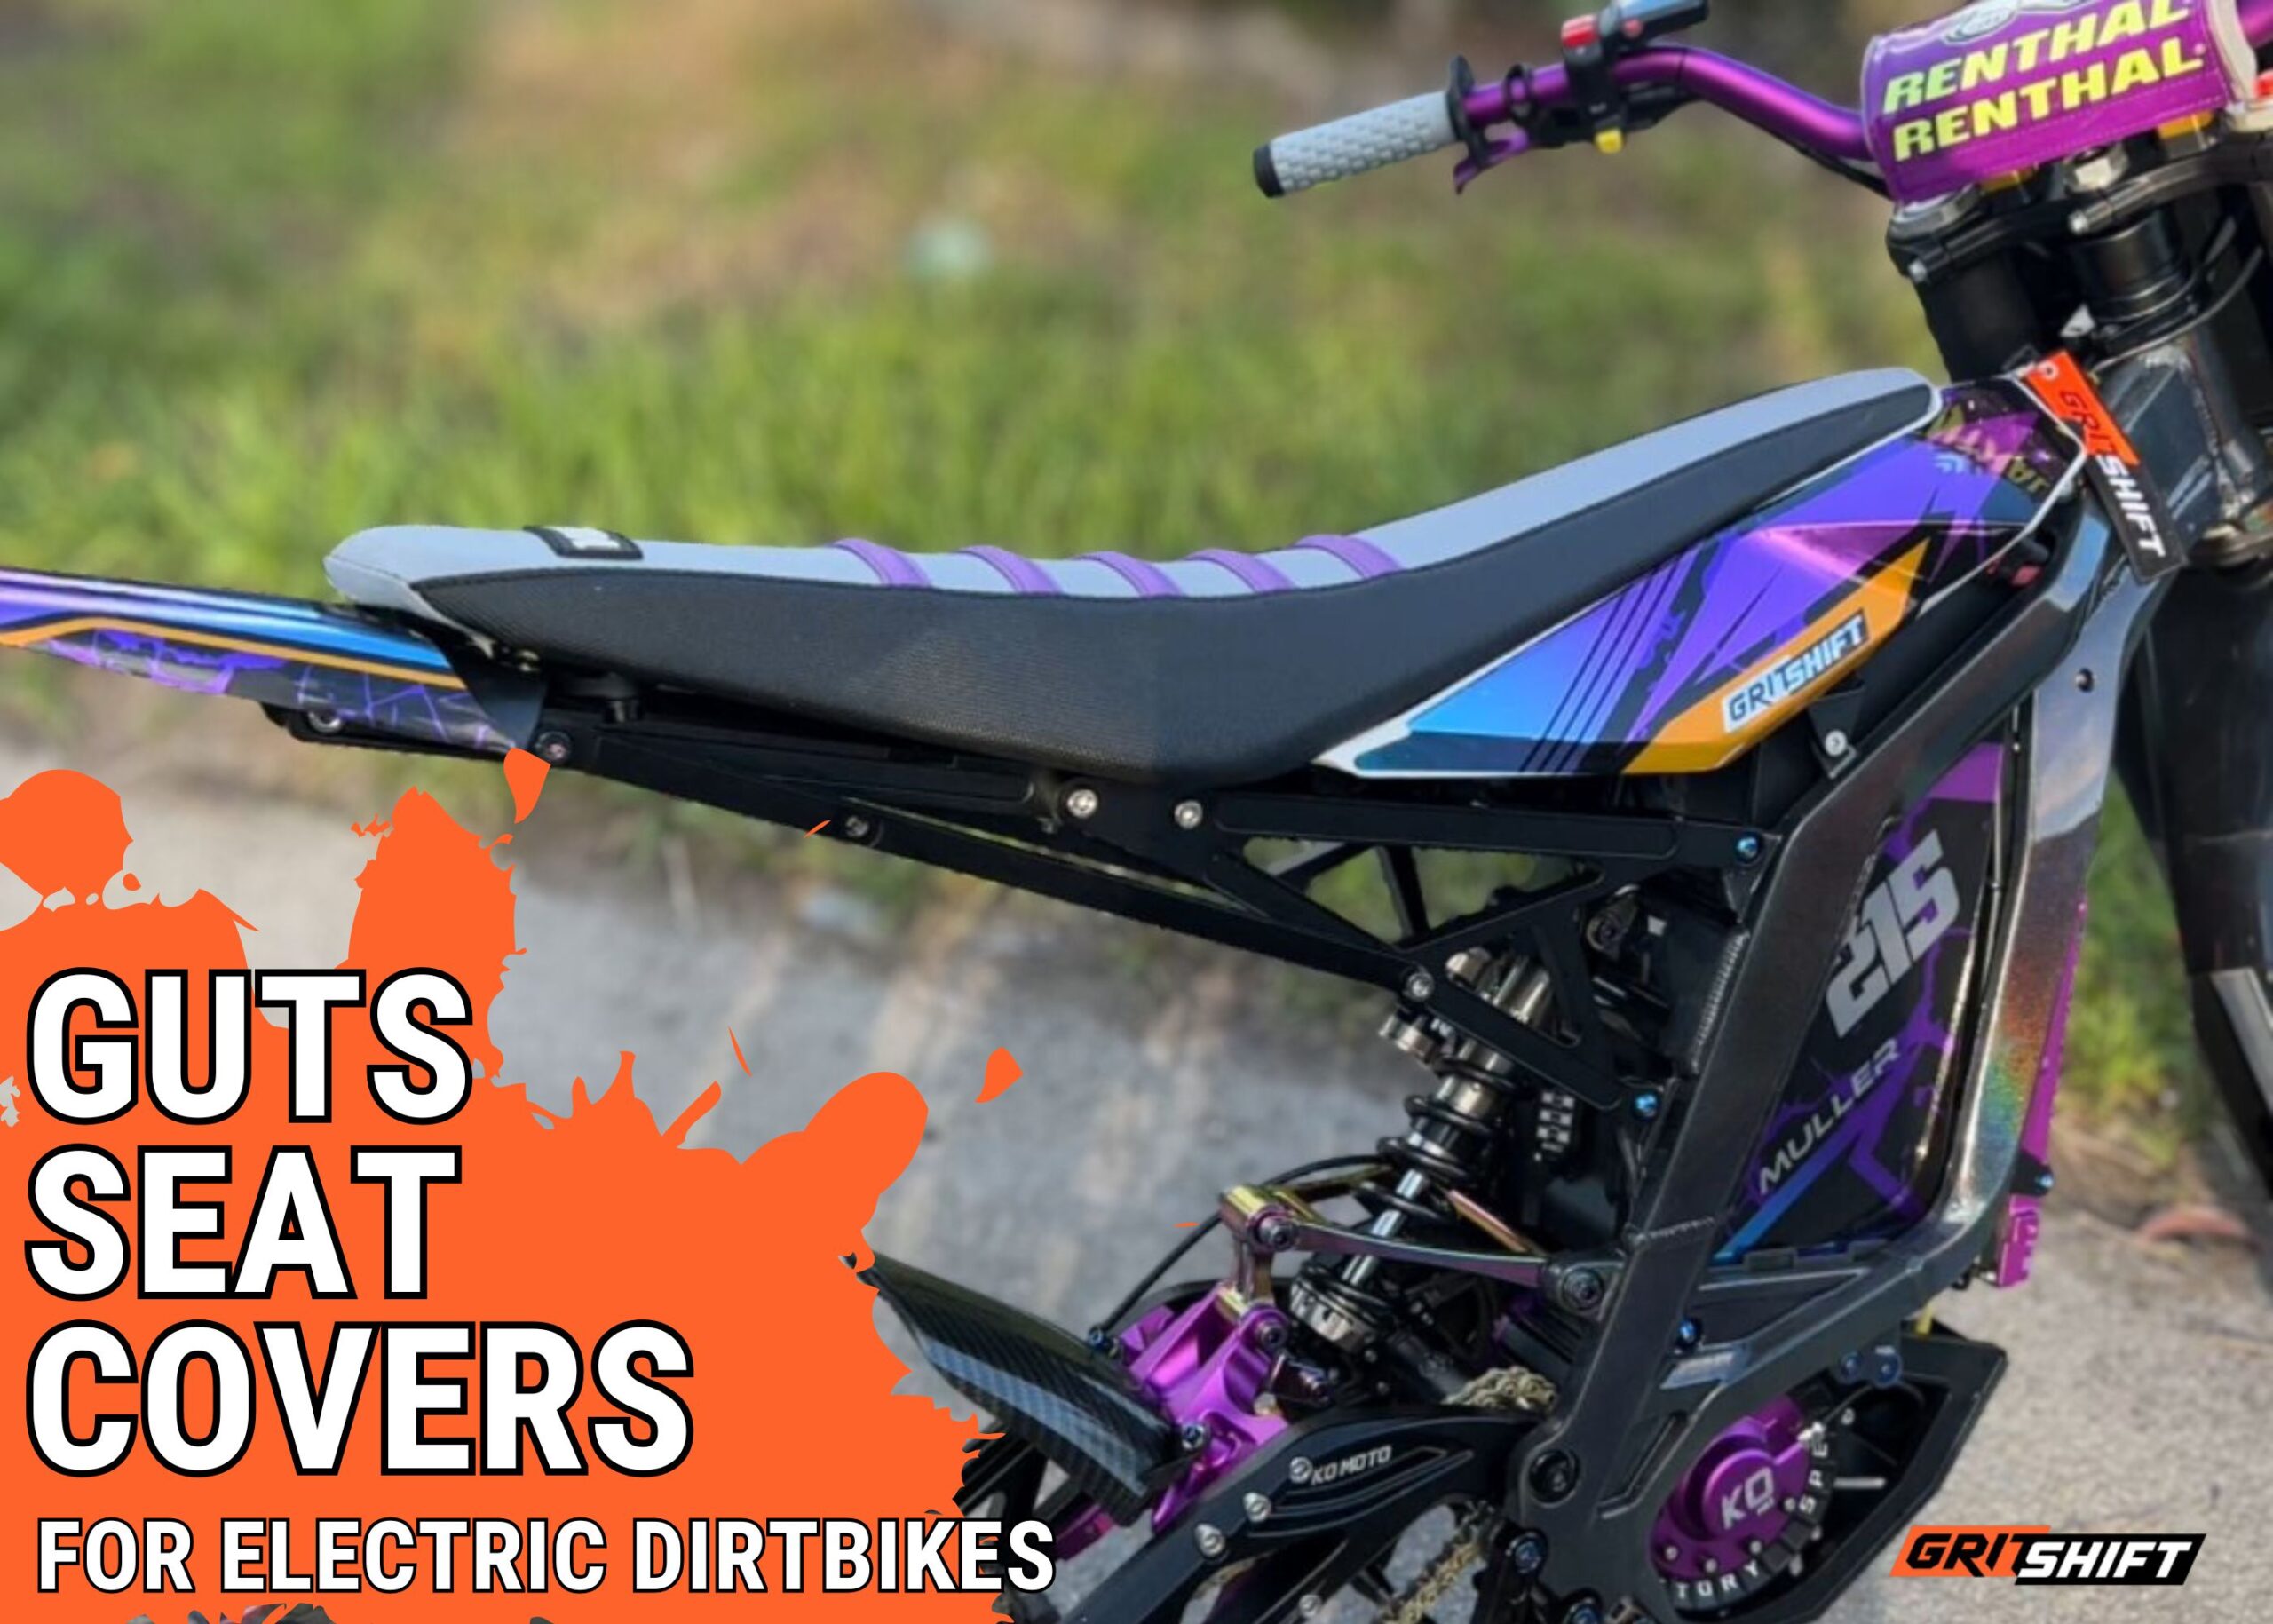
GUTS have mastered the art of the high-performance seat cover. From the foam style, the grippy material, and the positioning of the extra ribs, it all adds up to race wins.
With upholstery heritage and race pedigree, Guts seat covers are the go-to for most racers, which means for those of us who don’t race professionally, we get real good seats designed to win races.
- But why do you need to upgrade your stock seat cover?
- And how do you replace the seat cover? Or the complete seat?
- How do you know what you’re getting, and make it work?
I’ll go through the types of seats and seat covers Guts sells, how to install your chosen option, and why it is a necessity to dispose of your current stock seat and make one of the easiest and cheapest upgrades to your electric dirt bike – whether you’re a racer or not.

If you already know how awesome Guts is, then I’ll save you the hassle of scrolling through this article and get right to the good stuff:
Where can I buy a Guts Racing seat cover?
Buy your Guts Racing seat cover from GritShift by clicking here. Select your e-moto, choose the colors that suit your style, then sit back and relax while the shippers do the rest.
When you purchase through us, you’re directly helping to support our R&D team in creating new parts for all e-motos, as well as helping create these free informative articles. And, we have our knowledgeable support team you can call anytime to ensure you get the right part for your e-moto, or the help you need to install it.
Talking about the team behind products here at GritShift, I also want to tell you some interesting information about the guys and girls behind Guts Seat Covers.
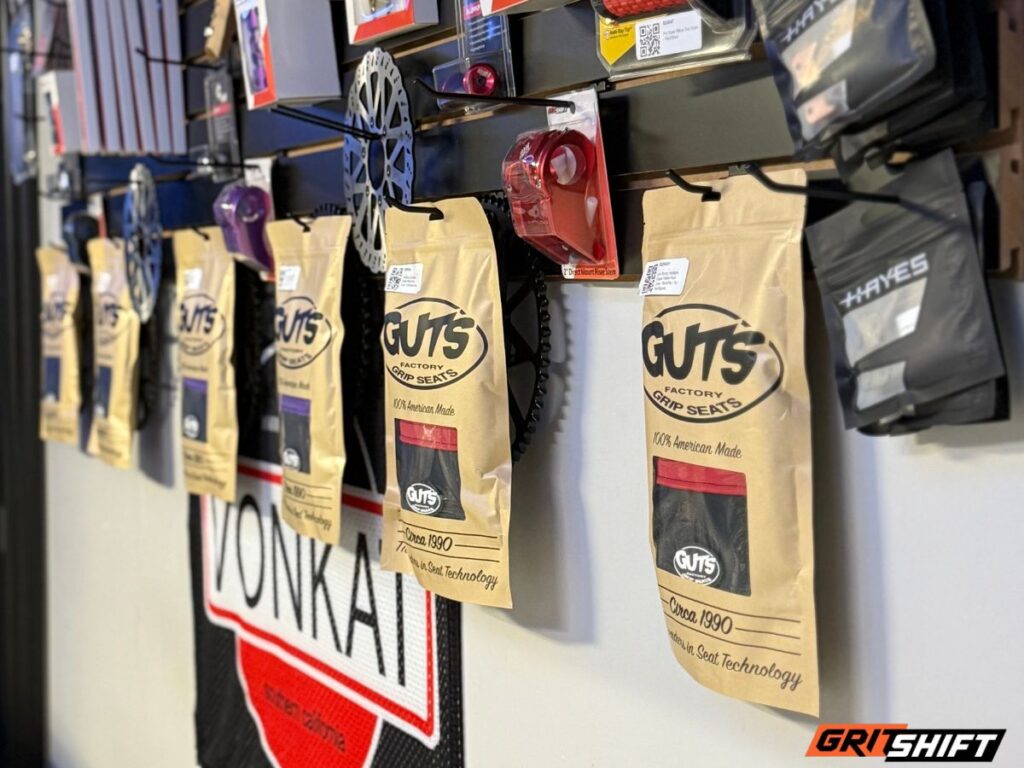
The People Behind Guts Seat Covers
Back in the mid-1980s, a young boy needed a new seat cover for his motocross bike. With limited options at the time, his dad – an upholsterer with a background of making lounge seats, couches, and the like – set out to make his kid a seat cover. Turned out it was pretty good, and as his son got older and progressed through the ranks as a professional rider, he continued to make and design the seat covers that graced those competition bikes.
With direct feedback from his son on what makes the best seat cover, in the 1990s, he decided to create a legitimate business, and the word quickly got out that Guts seat covers were the real deal. As the newly established GUTS – standing for Greggs Ultra Trick Seats – he worked out what was needed in a high-performance seat, one that is capable of winning races on weekends and staying comfortable and durable all week long.
The design, matched with the grip material, meant riders could control their bikes better, with better weight placement, faster cornering, more holeshots, less fatigue, more durability, the list goes on and on…
Do you know what their secret is?
Why are GUTS the best?
Guts have meticulously engineered the grippiest material that keeps your bottom connected to the bike, and if you’re on the pegs, the way the seat contours around the frame allows that precision weight placement I mentioned earlier. They are also a company that doesn’t just do seat covers, they also offer the foam with very precise measurements.
Guts seats have evolved over time based on rider feedback, all with the main aim of helping riders ride faster and better – with less fatigue – in competition settings.
One of the biggest changes was the addition of the winged seat, a style that allows the grippy material to contour slightly down the sides of the bike, which allows riders better grip with their knees. Your knees do a lot of steering that you might not be aware of, and this seemingly small change can add up over time in the form of faster turn-ins, more precise control, and less fatigue.
Interestingly, the winged seat came about as a result of a collaboration between motocrosser Rick Johnson and Guts Racing, when extra knee grip was needed for one of his riders. Other people saw this version and noticed the benefits, so Guts started designing it for the general public!
This video explains the winged seat of Dean Wilsons’ bike:
Who races with Guts Seat Covers?
You know a product is really good when the top guys and girls start using it – the ones that aren’t even sponsored by that particular product. And that’s exactly what happens when it comes to Guts Seat Covers!
Top riders like motocrosser/supercrosser Ken Roczen have been using the Guts seat covers for a long time. Factory Rockstar Husqvarna riders like Dean Wilson and Michael Mosiman have favored the winged seat from Guts. And our humble in-house competitors here at GritShift prefer nothing else.
Not everyone is publicizing when they use Guts Seat Covers, especially if they have contracts with other brands, “… even if they’re buying some of our product and using it underneath somebody else’s seat cover,” said Andy Gregg, owner of Guts Racing. That says a lot about Guts that a competitor would take risks to use a Guts product at all costs.
How does the Guts Seat Cover upgrade work?
After all that talk about the top guys and girls using Guts seat covers, you may be wondering how you get one of these, so you can see for yourself what the fuss is about.
Firstly, do you need just the cover, or do you need the foam and the cover, as in, the complete seat?
Cover only. Ordering just the cover is the best, most cost-efficient way, and if there’s nothing wrong with the foam underneath, there’s no need to replace something that doesn’t need to be replaced. You can also choose to get the cover with the extra winged seat section. Just read the description carefully so you know which option you’re ordering.
Velcro cover. Easy to add or remove, makes changing your style a breeze. Not as secure – might come off in some crashes. Some stapling is suggested.
Complete seat. If you have damaged the foam part of your seat in a fall or you just want to change the height slightly, you can order a complete Guts seat. Simply select the option that best suits your needs.
Installation will depend on the option you have chosen. If you need to install the complete seat, it’s a simple swap. If you need to install the cover, then it’s also pretty simple… when you know what you’re doing, which you won’t the first time! Let’s look at both options.

Installation of a full Guts seat
Installation of the full seat is as simple as removing your current seat and replacing it with the new one. For most e-motos, this is relatively straightforward.
Check your manual for specific instructions, but here is a generic list for most e-motos:
Tools typically needed:
- 5mm Allen key
- 10mm socket
Typical instructions.
- Take out the battery and locate tail light connector (if any)
- Remove subframe bolts
- Take off the subframe with the seat still attached. (Some e-motos have enough space to allow access to the bottom seat bolts without removing the subframe)
- Flip the seat upside down and take out the bolts holding the seat to the subframe
- Remove the fender for clearance
- Reverse the process to replace the seat
Here is a great video that demonstrates installing a full set on a Talaria Sting X3.
Installation of a Guts seat cover
To install a bare seat cover, there are a few more steps involved, but it’s something that anyone can do with time and patience. Here’s what’s involved:
Tools required:
- Staple removal tool, such as needle-nose pliers
- Staple gun
GritShift recommendations:
We’ve done this countless times. Grab yourself a good staple gun, one that is either electric or pneumatic. It makes things so much easier. You can pick one up from your local Home Depot inexpensively, or order online for fast delivery. A manual staple gun works, but you need to be more of an octopus than a human. Same for removing the stock staples – you at least need a good set of needlenose pliers, but a real “staple puller” will be at your house in a couple days for only a few bucks, and it will make it so much easier. Plus, now you have the tools to put covers on your friends’ bikes – charge them $10 and you’ll be ahead in no time! Worst case, a local upholstery shop can install the cover for you or fix any mistakes you make.
Steps needed:
- Remove the seat. Follow the instructions above for the full seat install.
- Choose if you’re going to remove your original cover or put the Guts cover over it. I like removing the old cover. I find sometimes you can feel the old and the new cover rub very slightly together, which you don’t get with putting the seat cover directly onto the foam. Of course, this involves removing the staples holding the stock cover to the seat.
- If removing the old cover: Carefully remove the staples from the old seat cover.
- Line up the new seat cover with the ‘nose’ of the seat. Make sure the folds in the fabric are under the seat and put a few staples underneath to hold the cover in place.
- Line up the rear of the seat cover and put a few staples underneath to hold it in place.
- Make sure the seat cover is straight on the seat, and tack the middle of each side in place – again, all staples go underneath where you won’t see them.
- Check that everything is in the right place at this step before you go any further!
- If all looks good, then systematically add a few staples around the underside of the seat.
- Continue to check the fitment. It is easier to stop and remove any incorrectly lined up staples with fewer staples in!
- Staple the complete way around the base of the seat to ensure it is securely fitted without any folds. The goal is a cover that is taught against the foam and doesn’t slip too much independent of the foam itself. Not squeezing it down hard, but snug.
- Reinstall the seat.
If you would rather watch a video installation, check this out:
Installation of a velcro Guts seat cover
This option is great if you’re not sure about all that stapling, or if you want to swap and change seat covers often.
Start the same way as above – remove the complete seat from your bike.
Here are the steps for the Velcro seat cover:
- Locate the velcro patches in the kit. Turn your seat upside down and stick them onto the seat base.
- Suggested: Staple these velcro pieces into place – this provides additional strength.
- Start at the ‘nose’ of the seat in a similar way to above, but instead of staples, press the velcro together.
- Fold the rear of the cover onto the back of the seat, and press down the velcro.
- Check fitment and press the velcro down in the middle of the sides.
- If you’re happy with the fitment, press the Velcro down around the complete seat.
If there are any folds in the seat cover, it is easy to re-velcro any part of the seat.
Here is a video of a velcro Guts seat cover being installed.
Do I really need a Guts Seat Cover?
Here’s a different question: do you want to fall off the back of the bike when you’re hitting the perfect wheelie in front of your friends? If your stock seat cover is even the slightest bit slippery, you’ve got no chance!
I run Guts Seat Covers on all of my dirt bikes; it’s just one less thing to think of when you’re on the track. Your butt stays exactly where you need it to; you don’t use any more muscles than needed just to maintain the perfectly weighted position.
On the topic of fatigue. It doesn’t matter if you’re coming to the pointy end of a moto or the last part of an epic afternoon ride, your body will start to fatigue. If you can do anything to help lessen muscle usage during a ride, you will be less fatigued. Which means you can push harder, or at least have less recovery time before the next sesh.
What we think:
Many of us run Guts Seat Covers on our own bikes, both in and out of competitions. They just work.
It’s pretty simple! If you’re after top performance, I’d recommend Guts Seat Covers. If you’re after the mods for personality, then I’d also recommend Guts Seat Covers. They come in so many color options, you’ll be able to match your seat to your color scheme – and you’ll have a bit of competition flare on your bike wherever you go.

Just a quick note, though, please don’t be tempted to buy cheap knockoffs from sites like Temu, they might have the Guts logo – even if it’s not *exactly* the correct logo – but do you really think they’re the real deal? Guts have been around for a long time, and come from a moto background. There’s a reason why so many racers use Guts. Make sure you purchase from a reputable Guts dealer to ensure you get the official Guts Seat Cover.
If you need to chat with us to work out exactly the right seat for your e-moto, click here to talk with our support team.


Leave a Reply