Surron Stock Forks
The forks on the Surron e-moto, like many similar small electric dirt bikes, are the equivalent of downhill mountain bike forks. Due to weighing only 110 lbs (50kg), the Surron Light Bee X (LBX, Surron X) requires suspension that is both light, strong, and adjustable.
The latest model LBX comes with either the KKE or DNM forks that allow for both preload and rebound adjustments. Suspension is the key to going fast. Power is useless if the wheels don’t have good ground contact. Quality forks allow you to overcome the challenges of tackling various types of terrain with confidence and stability – and aren’t prone to failure.
Mountain bike forks have a few key differences from those found on traditional dirt bikes. They’re commonly conventional style, not inverted, and have more lightweight parts. If you’re coming from a gas-powered dirt bike, or have had little experience with mountain bikes, let’s quickly recap some of the basics of a stock Surron fork.

E-Moto Fork Basics
An important feature of forks on an e-moto is to provide suspension for the front wheel. The current model Surron LBX has inverted forks, meaning the outer tube is clamped in the triple clamps, and the sliding stanchions hold the axle. However, it’s not uncommon to see conventional forks on e-motos.
Forks work on a spring and damper system that compresses and rebounds to absorb the bumps when riding over uneven terrain, under braking, accelerating, or maneuvering, providing stability over the terrain. The spring could be coiled metal or gas inside a sealed chamber depending on brand. The damping part of the fork controls the movement of that spring, so you’re not bouncing your way around the track.
Compression damping uses a fluid, usually oil, regulated through small ports via small metal plates known as shims. As the fork moves through its travel (the distance the stanchions move in the larger tubes), it forces the oil through the ports, past the shims, and slows the compression. Compression damping can be adjusted by making the gaps in the shims bigger or smaller, allowing more or less oil to pass through. This creates firmer or softer suspension. Compression can also be discussed as high-speed or low-speed compression. High-speed compression occurs during bigger hits, such as landings. And low speed are slower inputs such as rider weight shifts.
Rebound damping regulates how quickly the spring recovers or returns to its unloaded state. If the oil flow is restricted, it will slowly return. Conversely, if the oil flow is more open, the spring will ‘spring’ back to its previous state.

Surron Front Fork Adjustments
This brief science lesson on forks is handy when you want to start adjusting your front suspension. When you have a simple understanding of compression vs. rebound damping, you’ll have some idea of what you’re changing when rotating the clickers. What I highly recommend not doing is Googling settings to use. Adjusting or changing your forks is a very personal thing. It depends on your weight, riding style, terrain, and preferences. Start by riding your Surron in its natural habitat. The place you ride most often. Get a feeling of your e-moto. Start with minor adjustments to the rebound adjustment. If your Surron feels more like a pogo stick, your rebound is set too fast. If the suspension doesn’t have time to recover from the last bump, the rebound is set too slow. And if you find you’re running out of adjustments, the next step may be beefier forks.
Compression adjustments are usually dials or levers. Adding compression firms up the suspension, and it stays higher in its travel. A lower compression gives you a softer, plusher feel. Start by making small changes and counting the number of ‘clicks’ so you know how much you’ve adjusted. A trick I’ve found very handy is if you get a friend to make small changes to your suspension, you can fine-tune exactly how the forks need to be set up for the conditions. This way you can go on the ‘feel’ of your Surron without overthinking. Be sure to record the changes made so you can return to your previous settings. Or, if you have a husband like mine who sometimes makes no changes when asked and leaves me wondering why I can’t notice any difference! (I’m sure I’m not going crazy!!)
Keep in mind that the front and the rear suspension do work in harmony. Let’s go over that on another day. However, I highly recommend concentrating on the forks first. Just note that any adjustment made to the front will change the rear suspension by the laws of physics.
Surron Stock Forks
You’ve just picked up your brand-new Surron and have caught the modifying bug; now what? Let’s stop for a moment and consider what you currently have before you’re in the workshop, swapping parts. Over the years, Surron has used different forks. The current model LBX either has a KKE or DNM front forks, which are awesome for most riders. (The brand of forks depends on availability at production). Both brands have 8 inches (203mm) of travel, coil spring inner structure with a 1.13-inch (28.6 mm) steering tube.
Chinese company KKE Racing makes KKE forks and specializes in purpose-designed forks for the Surron. At only ten years old, this company produces high-quality forks, but longevity is yet to be determined. This fork would suit the trail or street rider. It is a solid, stable, inverted fork with minimal fork twist thanks to a more considerable fork contact in the triple mount. However, if you’re looking to land a triple or traversing very rough terrain, you might be asking a bit much from this fork, especially if you flat land.
The DNM Volcano forks are made by DNM Suspension Technology in Taiwan. Like the KKE, the rebound, compression, and air pressure are adjustable and would suit the trail or street rider. As it’s predominantly designed for mountain bikes, it has been reported the fork bottoms out when landing jumps.
Once you’ve tuned your forks to your liking, do you find you need more ‘clicks’ on the clickers? If you’re seeing the suspension hitting the stoppers on hard landings or heavy braking, or the rebound isn’t keeping up with the oscillations over rough terrain, it’s time to upgrade your forks.

Is it worth upgrading your Surron Forks?
When you’re first considering upgrading your forks, you need to consider what you need vs. what the bank account will allow. It would be best if you also considered the more robust the forks, the heavier they will be. On a 110 lbs (50kg) Surron, any weight increase will be a large percentage. Something also to consider is the ease of fitment. Are the new forks plug-and-play into your Surron, or does it require a conversion kit and more knowledge?

Why are you upgrading?
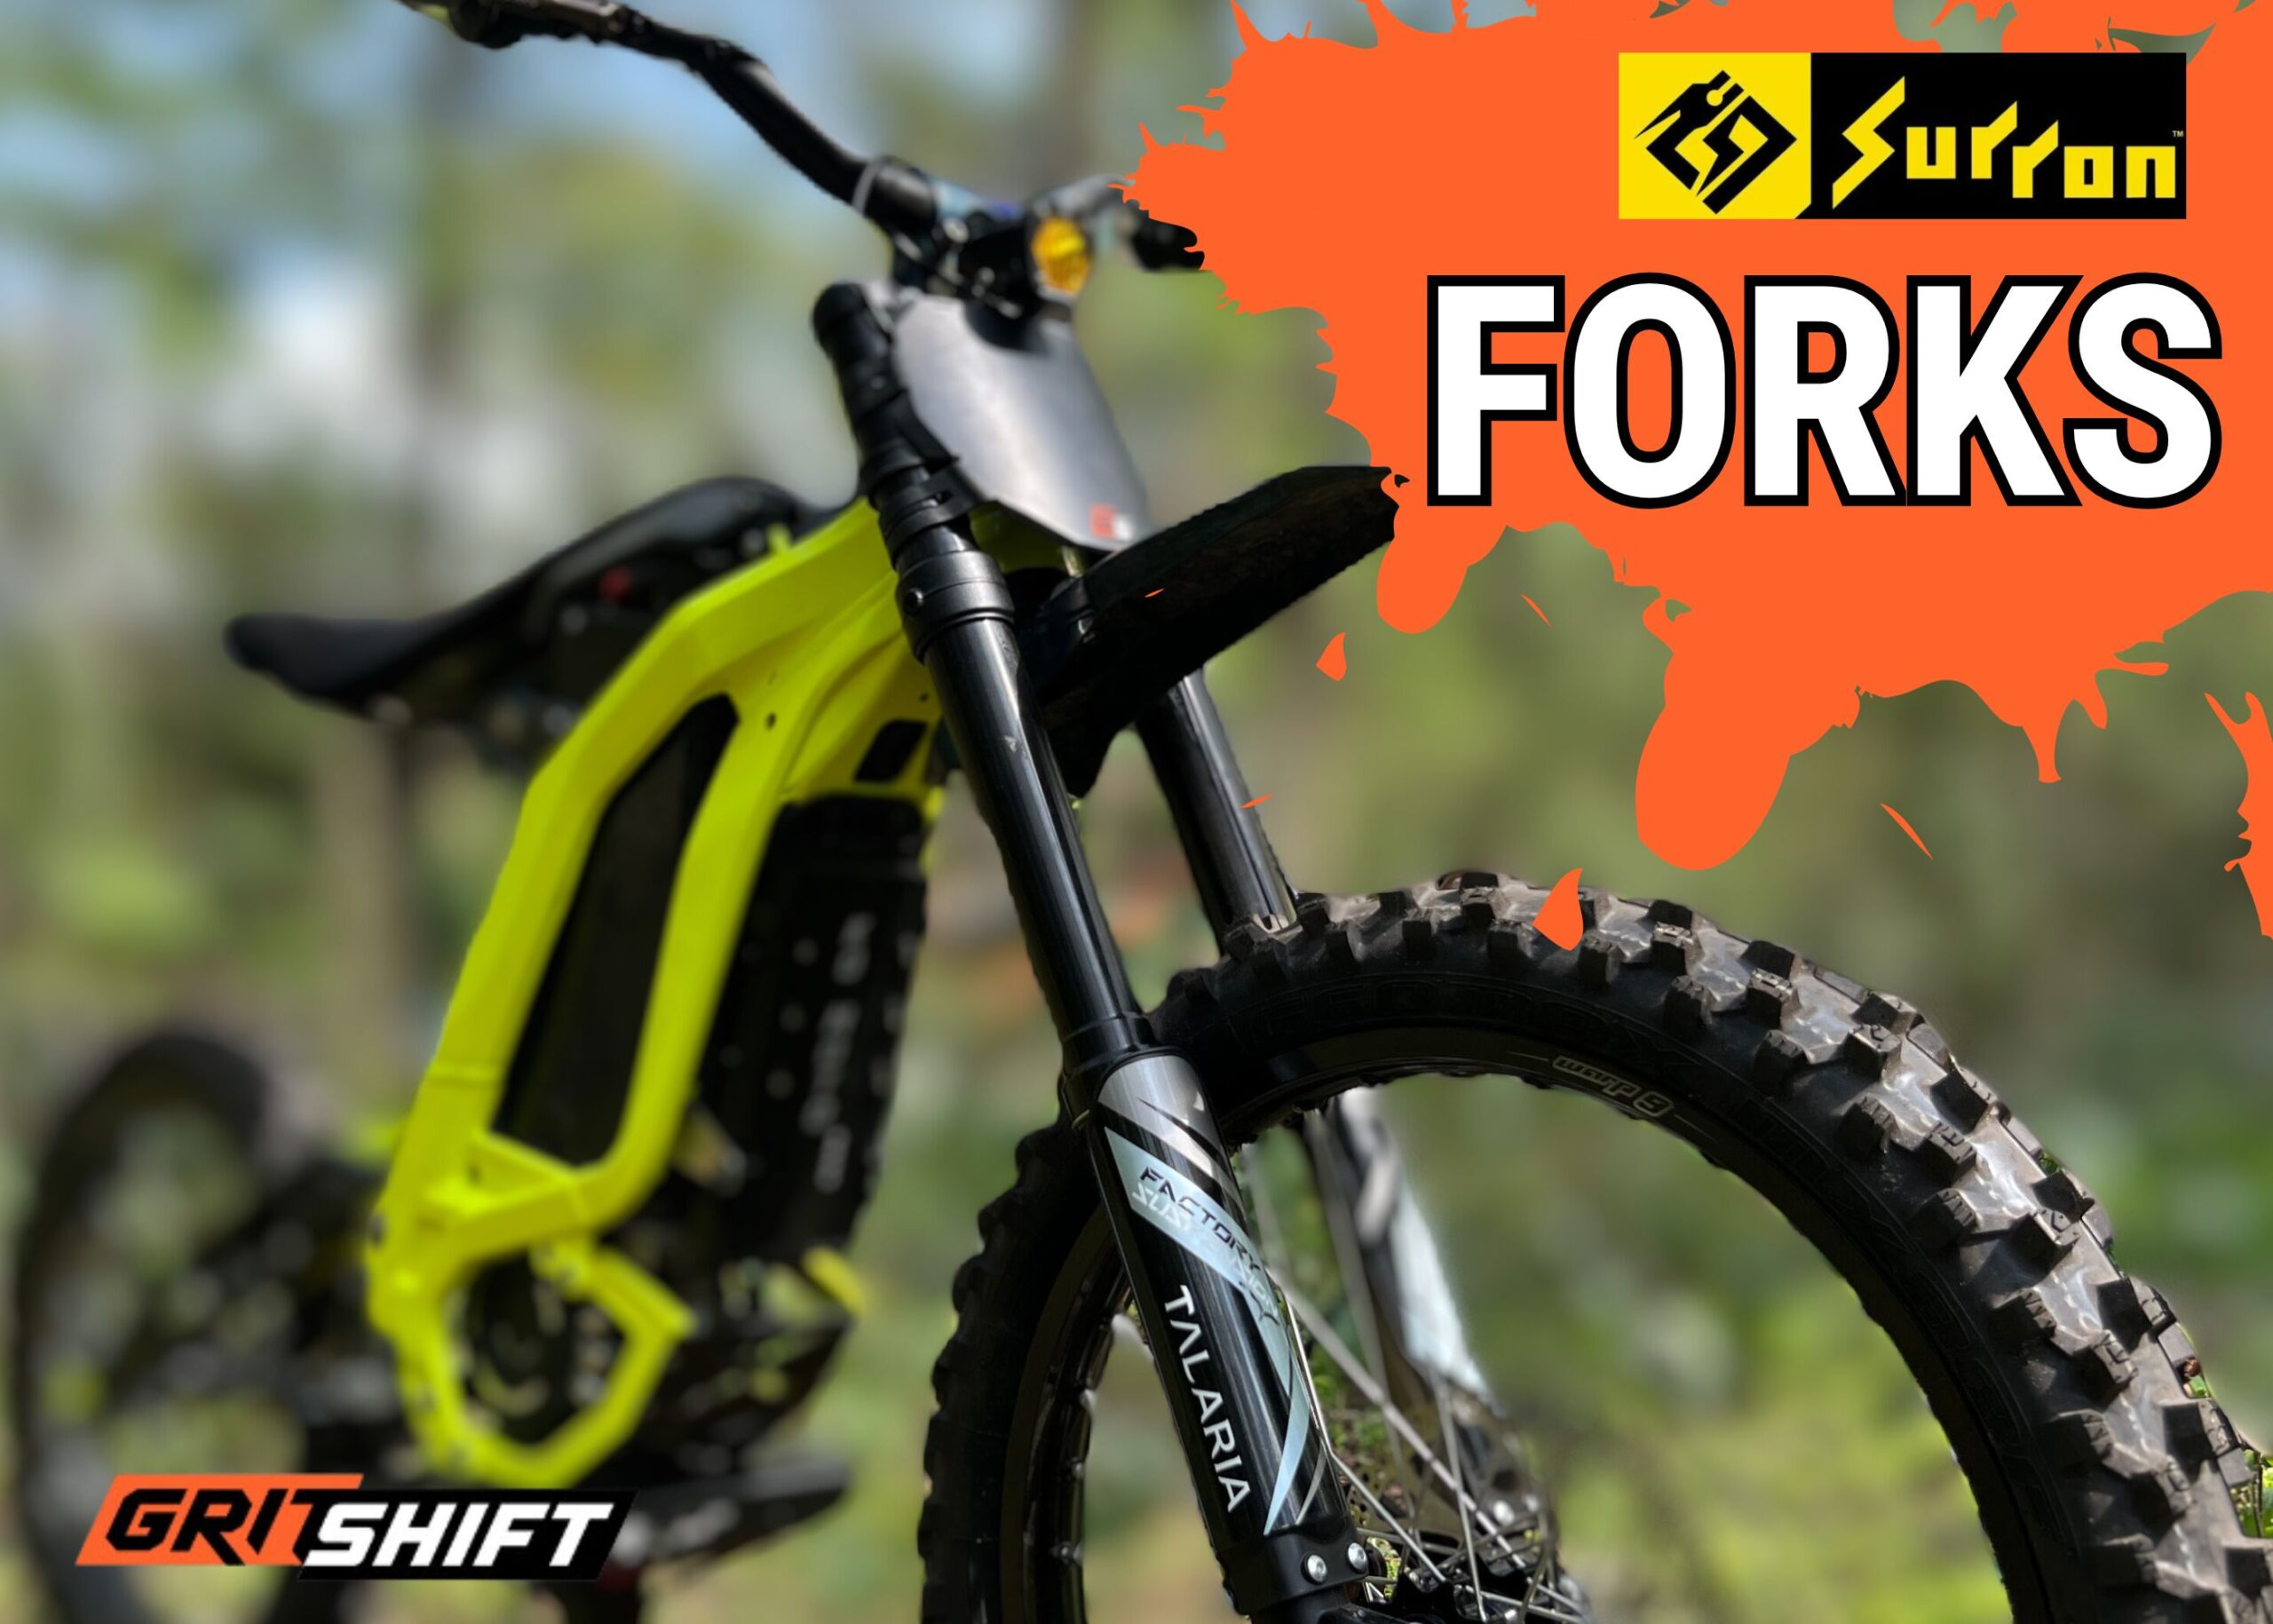
So many aftermarket forks are available, and almost any decent mountain bike forks will fit the Surron LBX. It all comes down to your riding preferences. If you need forks that will perform better with jumps or have more stability over rough or rocky terrain, the Talaria 27.5” Factory Air Fork is an excellent all-around quality upgrade from a stock Surron without breaking the bank. These forks fit directly onto your Surron, making the changeover easy. Even though the Talaria Factory Forks are still a mountain bike style, they have been re-valved to the correct weight and more robustly made – and are air forks. When out riding with GritShift boss Josh, Rusty (R&D) said, ‘Josh jumped his on supercross style doubles and went too flat on these jumps, and his Talaria Factory Air Forks held up amazingly.’
How to install the Talaria 27.5” Factory Fork
Installing new forks on your Surron takes a few hours, depending on your experience. The hardest part of installing new forks is removing and replacing the head stem bearing on the new triple clamp. Be careful with this step so you don’t damage the bearing, but you will need to find a way to push this bearing into place. If you get stuck with this step, head to your local bike shop, as they would have the tools to get this sorted. I’ve heard of some shops doing this for free, while others charge a small amount. Please note these steps are not exhaustive; it is to give you a rough idea of what to expect to consider if you will attempt this yourself.
Step 1: Remove stock suspension.
- Remove the front brake caliper
- Remove the front wheel
- Remove the front number plate
- Remove the handlebars
- Loosen the pinch bolts to remove the steer tube. Keep all wiring (throttle, brakes, etc.) connected to the handlebars. Remove the handlebar and spacer.
- Remove the headlight if installed.
- Loosen pinch bolts on the triple clamp and remove the two forks.
Step 2: Bearings
- Remove the top collar and bearing from the steering tube.
- Remove the bottom bearing (this is the most challenging part – you may need to ask for help at a local bike shop).
- Clean bearings.
- Regrease bearings.
Step 3: Replace new forks.
- Slide forks into the crown and triple clamp; tighten clamps.
- Replace handlebars.
- Replace headlight (if installed)
- Replace the wheel.
- Replace the brake caliper.
Step 4: Check!
- Check all fastenings and forks sit correctly.
- Test ride!
Surron front suspension upgrade for big power mods!
If you come from a gas-powered dirt bike, you may be thinking you want to upgrade to the typical dirt bike forks. And, of course, you can! However, it’s not quite as simple as upgrading to a more robust mountain bike fork. It will also add weight to your Surron. You would upgrade to dirt bike forks if you wanted to push your Surron to the limit, going for larger jumps, and want a more solid front end or even just ‘because.’
The KTM MX fork conversion is highly recommended; not only does it give you a plusher fork, but also a much better front braking system and it’s sprung nicely for the weight of your Surron. You’ll first need to source a KTM 85 front end – think fork tubes, triple clamps, front braking system, front wheel, front axle, and MX-style handlebars. Coming from a predominantly Yamaha background, I learned from Googling that if you go for a 2018 onwards KTM model, you’ll find a lighter fork, as that was the changeover to air forks.
Once you’ve got your KTM 85 front end making its way to you, grab yourself the Heavy Hitter Big Sender 85 MX Fork Conversion Kit here. You’ll need this for the dirt bike forks to fit your Surron. This part was designed by GritShift techs. Mix dirt bike enthusiasts complete with next-level engineering knowledge and high-tech machines, and “ta-dah”, high-quality parts are made!
If you would like to read the full story behind the Heavy Hitter conversion kit and Rusty who designed it, click here.
Yes, GritShift has an in-house R&D team designing and developing e-moto parts to make your e-moto stronger and faster than ever. Born from necessity, the parts Heavy Hitter design go through a rigorous testing (aka we try to break it!) phase before making it to our website. When you make a purchase from us at GritShift, you’re helping our R&D team develop more parts, and allow us to continue creating free articles like this one. Shop GritShift by clicking the button below:
How to install your KTM 85 front-end
(These steps are not exhaustive; they are only a guide for you to see if you would like to attempt the upgrade yourself.)
Step 1: Remove the stock front end
- Remove the stock front end, as above (you can keep the front wheel attached to the stock forks as that will also be changed.)
- Remove the throttle, speedo, and brake lever from the handlebar.
Step 2: Remove the race
- Carefully remove the race from the steering tube.
Step 3: Replace new forks
- Press the bearing onto the stem
- Refit new forks into the steering tube.
- Refit throttle, speedo, and rear brake lever to the handlebar.
Step 4: Check
- Check all fastenings and forks sit correctly.
- Test ride!

When is the time to upgrade your Surron Forks?
Before you do anything, ride your stock Surron first! If nothing else, you’ll be able to see what the difference is when you upgrade other parts. You might find you’re pretty happy with the ride or want a different mod first. Do you upgrade the controller or forks first? Consider this – you’ve just unleashed a heap more power on your Surron, which means stronger acceleration and more braking (assuming you’ve also upgraded the brakes). The temptation to send it further will place further strain on your stock forks. So yes, I would upgrade the forks before upgrading the powertrain.
How about the rear suspension? In an ideal world, it would be great to upgrade the front and rear suspension at the same time. But we all know there’s a good chance that won’t happen – money, time from work, life stuff! In this case, it is recommended that the front forks get upgraded first. As Rusty says, ‘The rear end is harsh and bottoms easily, but is more manageable than the front forks.’ So, consider your riding style and what the stock forks tell you, and choose which path you want to ride down.


Leave a Reply